S etting Up Your Kitchen Studio: So, you’ve got the culinary chops and the burning desire to share your passion for food with the world – fantastic! But before you hit record on that bubbling pot of pasta sauce, there’s the crucial step of transforming your kitchen into a food vlogging wonderland. In the world of food vlogging, where every dish is a masterpiece and every bite tells a story, creating a captivating visual experience requires more than just culinary skills – it requires a well-equipped kitchen studio that serves as the perfect backdrop for your culinary creations.
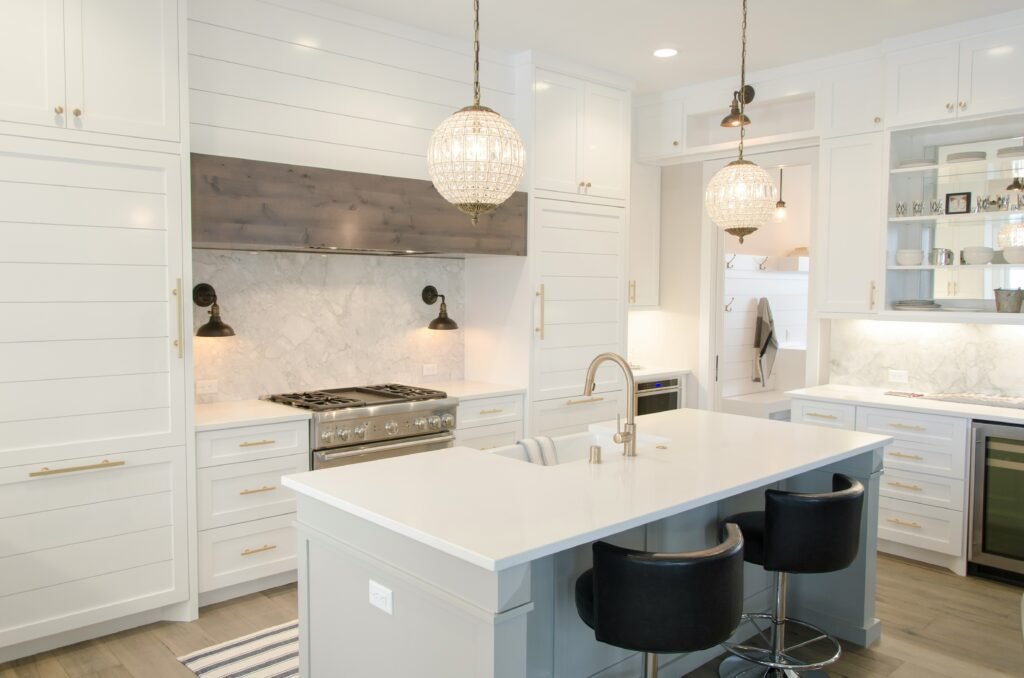
Setting Up Your Kitchen Studio for Food Vlogging
Whether you’re a seasoned food vlogger or just starting on your journey, setting up a dedicated space for filming can elevate the quality of your content and enhance the viewer’s experience. In this guide, we’ll explore the essential steps to setting up your kitchen studio for food vlogging success.
1. Choose the Right Location
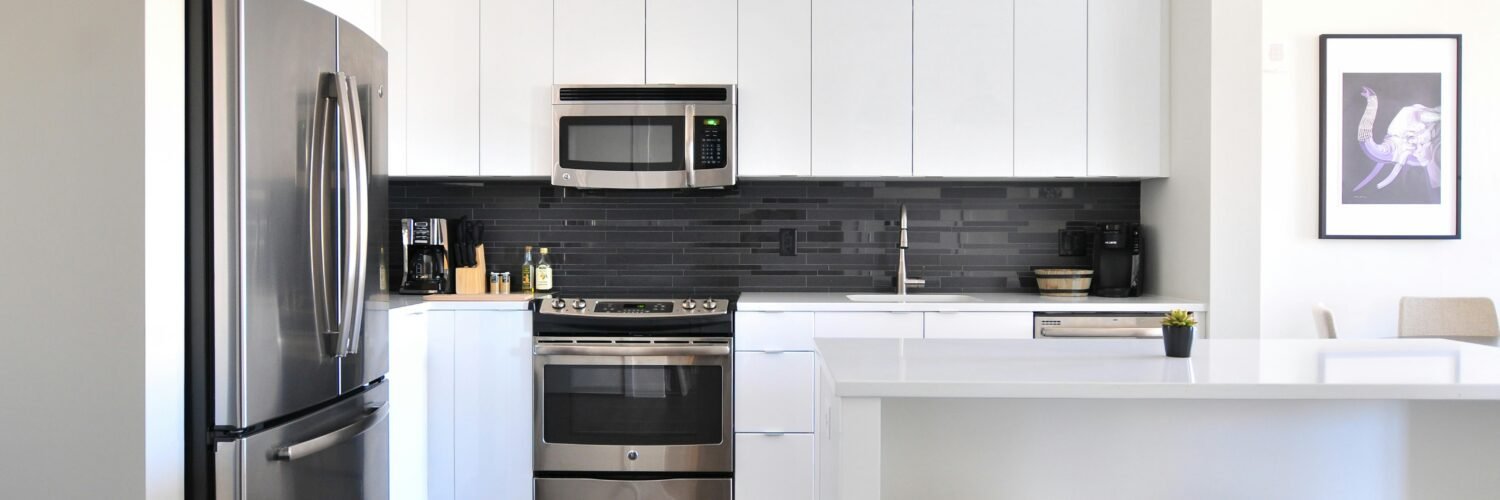
The first step in setting up your kitchen studio is choosing the right location within your home. Ideally, you’ll want a space with ample natural light and enough room to accommodate your filming equipment and workspace. Consider setting up near a large window or in a well-lit area of your kitchen to take advantage of natural sunlight, which provides soft, flattering lighting for food photography and videography.
If natural light is limited, don’t fret – you can always supplement with artificial lighting equipment to achieve the desired effect. Just be mindful of any shadows or harsh reflections that may detract from the overall aesthetic of your videos.
Flooring Matters: Choosing the Right Surface
While not the most glamorous element, flooring plays a role in your overall aesthetic. Opt for neutral-colored tiles, wood floors, or even linoleum in a light color. Busy patterns or dark floors can be visually overwhelming on camera.
Pro Tip: Consider adding a stylish rug to your filming area. This can add a pop of color and texture while also defining your filming space.
2. Declutter and Organize
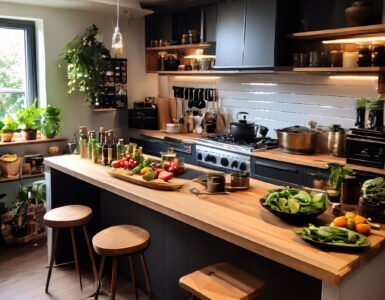
Before setting up your filming equipment, take some time to declutter and organize your kitchen space. Clear away any unnecessary clutter and streamline your workspace to create a clean, visually appealing backdrop for your videos. Arrange your cooking utensils, props, and ingredients in an orderly fashion, making sure everything is easily accessible during filming.
Consider investing in storage solutions such as shelves, cabinets, or rolling carts to keep your kitchen studio tidy and organized. Having a clutter-free workspace not only enhances the visual appeal of your videos but also makes it easier to navigate and film your cooking process.
3. Set Up Your Filming Equipment
With your kitchen studio decluttered and organized, it’s time to set up your filming equipment. Start by positioning your camera on a tripod or mounting it on a stable surface to ensure steady, shake-free footage. Experiment with different angles and perspectives to find the best vantage point for capturing your culinary creations.
Setting up the Lighting Equipment
Next, set up your lighting equipment to illuminate your workspace and highlight the textures and colors of your food. If you’re using natural light, position your filming setup near a window and adjust the blinds or curtains to control the intensity of the light. For artificial lighting, here are some ideas to consider:
- Softboxes: These are lifesavers! They diffuse harsh light and create a soft, even glow that flatters your food. You can find affordable softboxes online or at photography stores.
- Ring Lights: These circular lights offer adjustable brightness and a flattering circular light source. They’re perfect for close-up shots and can be mounted on your camera or a tripod.
- Bounce Lighting: This is a creative way to utilize existing light sources. Bounce light off white walls or use lamps strategically to achieve a softer, more diffused light.
Pro Tip: Experiment with different lighting setups to find what works best for your space and the type of food you’re filming. Don’t be afraid to get creative!
Audio Equipment
Finally, don’t forget about audio – clear, crisp sound is essential for engaging your audience and enhancing the viewing experience. Invest in a high-quality microphone, such as a shotgun microphone or lapel mic, to capture every sound with precision and clarity. Position your microphone close to your cooking area to minimize background noise and ensure clear audio recording.
4. Consider Your Background and Props
The background of your videos plays a crucial role in setting the tone and ambiance of your kitchen studio. Choose a backdrop that complements your culinary style and enhances the visual appeal of your videos. Consider using textured surfaces such as marble or wood, or experiment with colorful fabrics or backdrops to add visual interest to your shots.
Here are some ideas to consider:
- Solid Backdrop: A simple and effective option is to paint a wall a neutral color like white, light grey, or beige. This creates a clean canvas that allows your food to take center stage.
- Textured Backdrop: Want to add a touch of personality? Consider exposed brick, shiplap, or even a textured wallpaper. Just ensure the pattern isn’t too busy and doesn’ t distract from your food.
- Foldable Backdrops: These are a great space-saving option, especially for smaller kitchens. You can find them in various colors and patterns, allowing you to easily switch up your look.
Pro Tip: Remember, consistency is key! Choose a backdrop that reflects your overall brand and style.
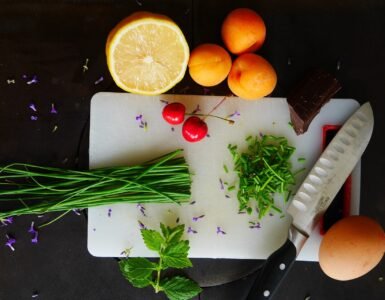
In addition to your background, props are another important element of your kitchen studio setup. Select props that enhance the theme and aesthetics of your videos, such as utensils, cookware, and tableware in coordinating colors and styles. Don’t be afraid to get creative and incorporate props that reflect your personality and culinary style – after all, the devil is in the details when it comes to food vlogging.
5. Test and Adjust
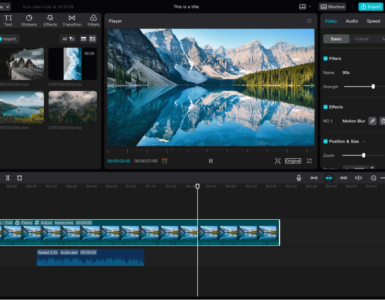
Once your kitchen studio is set up, take some time to test your equipment and make any necessary adjustments before filming your videos. Experiment with different camera settings, lighting configurations, and audio levels to achieve the desired look and sound for your videos. Pay attention to details such as exposure, white balance, and composition to ensure that your footage is visually appealing and professional-looking.
Don’t be afraid to make changes and iterate on your setup until you’re satisfied with the results. Remember, setting up a kitchen studio for food vlogging is a process of trial and error, so be patient and willing to learn as you go.
Setting up a kitchen studio for food vlogging requires careful planning, organization, and attention to detail. By choosing the right location, decluttering and organizing your space, setting up your filming equipment, considering your background and props, and testing and adjusting your setup, you can create a dedicated workspace that serves as the perfect backdrop for your culinary creations. So roll up your sleeves, gather your gear, and get ready to dazzle your audience with mouth-watering videos that showcase your passion for food and cooking.
You Might Also Find the Following Articles Intriguing
- Homemade Ceviche Recipe: Traditional Dish From Peru
- 20 Best Q&A Questions for YouTube Vloggers 2024 – Different Categories
- Nyama Choma Recipe: Popular Dish in East African (Kenya, Tanzania, and Uganda)
- 10 Compelling DIY YouTube Video Ideas
- Homemade Bangers and Mash Recipe: British Staple Dish
- Homemade Pad Thai Recipe: Thailand Traditional Dish
- Homemade Croissant Recipe: Originating from France
- Homemade Hamburger Recipe: American Staple Dish
- Setting up a Gaming Room for YouTube Vlogging in 2024
- Homemade Tacos Al Pastor Recipe: Traditional Mexican Dish
- Homemade Ramen Recipe: Noodle Soup Dish Originated in Japan
- Homemade Pasta Carbonara Recipe: Traditional Italian Pasta Dish
- 7 Monetization Strategies for Tech Vloggers in 2024
- Must-Visit Cultural Festivals Around the World as a Travel Vlogger
- Homemade Chicken Satay Recipe: Popular Indonesian Dish
- Homemade Fufu Recipe: West African Dish
- Authentic Injera Recipe: Ethiopian Traditional Dish
- 10 Insightful Event Coverage Video Ideas for YouTube
- Language Hacks for Travel Vloggers in Foreign Countries
- Homemade Ratatouille Recipe: Traditional French Dish

